Server Console
IPTVBoss Pro
XC Server requires Pro.
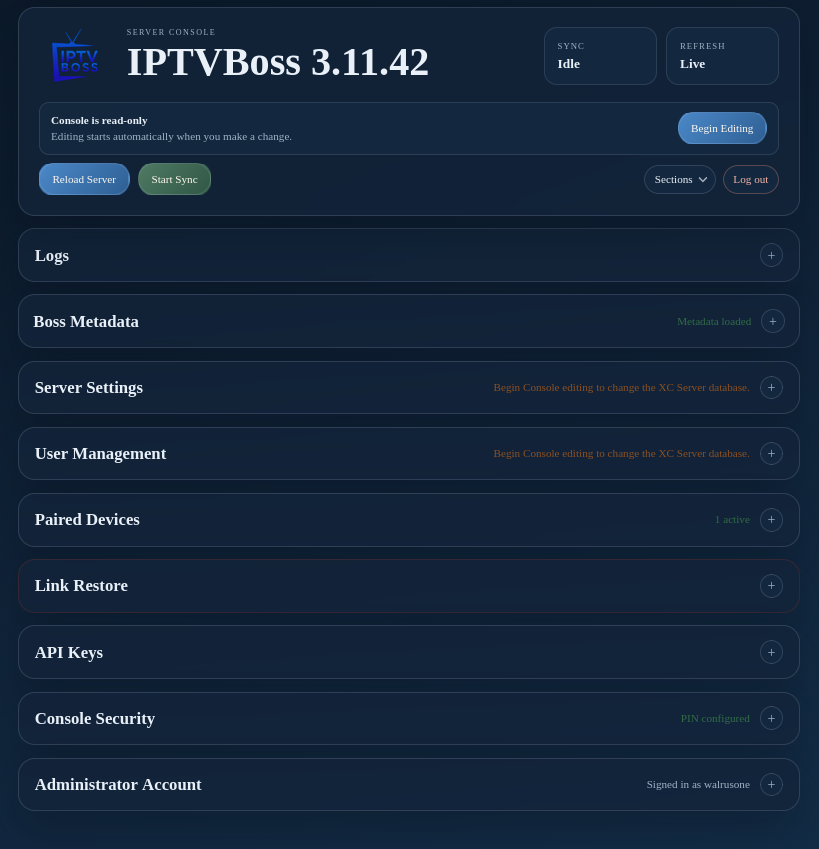
The IPTVBoss Server Console is the browser-based administration interface for an XC Server. Open it from the server address in a browser; it is not a screen inside the desktop IPTVBoss application.
Open the Server Console
Use the address supplied for your server:
Replace boss.somedomain.net with the server hostname. During first-time bootstrap, open the same address; the console will display the setup form when no administrator account exists.
The browser should display the login or setup page. On the first visit, create the administrator account and a six-digit section PIN. On later visits, sign in with the administrator account; if two-factor authentication is enabled, enter the authenticator or a recovery code as the second step.
Warning
Sign in through the console and keep the administrator credentials private. For external API requests, send the API key in the X-IPTVBoss-Api-Key header; do not publish keys in URLs, screenshots, logs, or support requests.
Console overview
The available console sections are listed in the navigation. Use the pages in this section for the individual workflows:
- Logs — review server activity and failures.
- Login and Setup — create the first administrator and sign in.
- Boss Metadata — review server metadata and administrative information.
- Server Settings — configure server connection and schedule settings.
- XC Server Users — manage server users.
- User Activity — review successful synchronization and playback activity.
- Paired Devices — generate pairing codes and revoke device access.
- Link Restore — restore or initialize a server database from a supported link.
- API Keys — rotate the XC Reload key and manage external automation keys.
- Swagger API Documentation — inspect the documented external API.
- Console Security — configure two-factor authentication and section PIN protection.
- Administrator Account — change the console username or password.
Some sections require a section-PIN unlock before they can be opened. Editing also requires ownership of the console editor lease when another desktop or console is using the database. Server operations can change the authoritative database and output for every paired device, so create a backup and confirm the intended server before editing.
Start a server sync
- Confirm that the intended local database has been backed up.
- Confirm that no other editor is making changes.
- Select Start Sync.
- Wait for the synchronization status to return to an idle or successful state.
- Review the result in Logs.
Do not close the application or edit the database while a server sync is in progress.
Apply changes safely
- Select Begin Editing before making database changes.
- Save one logical group of changes at a time.
- Wait for any backup or synchronization operation to finish.
- Confirm the connection status, run a controlled sync or output test, and review Logs.
- Select End Editing when finished so another editor can work.
If another editor owns the lease, the console is read-only. Use Take Over only after confirming that the other editor is no longer active.
Server bootstrap and restore
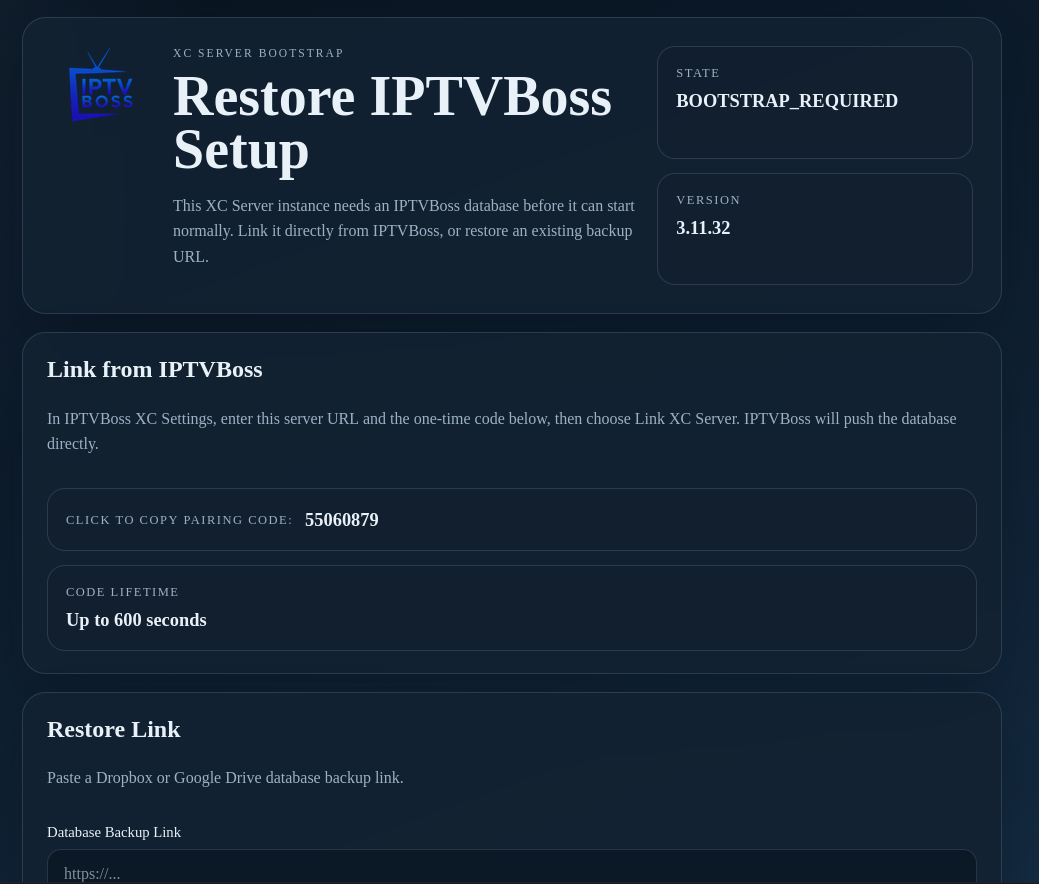
When the server has no usable database, it enters bootstrap mode. Open the web frontend with the bootstrap URL above, then choose one setup path:
- Use GUI pairing to push the database currently open in an IPTVBoss Pro desktop installation.
- Use Link Restore to initialize the server from a supported backup link.
Note
Server sections and labels may change between releases.
Boss Metadata
Use Boss Metadata to review server metadata and administrative information.
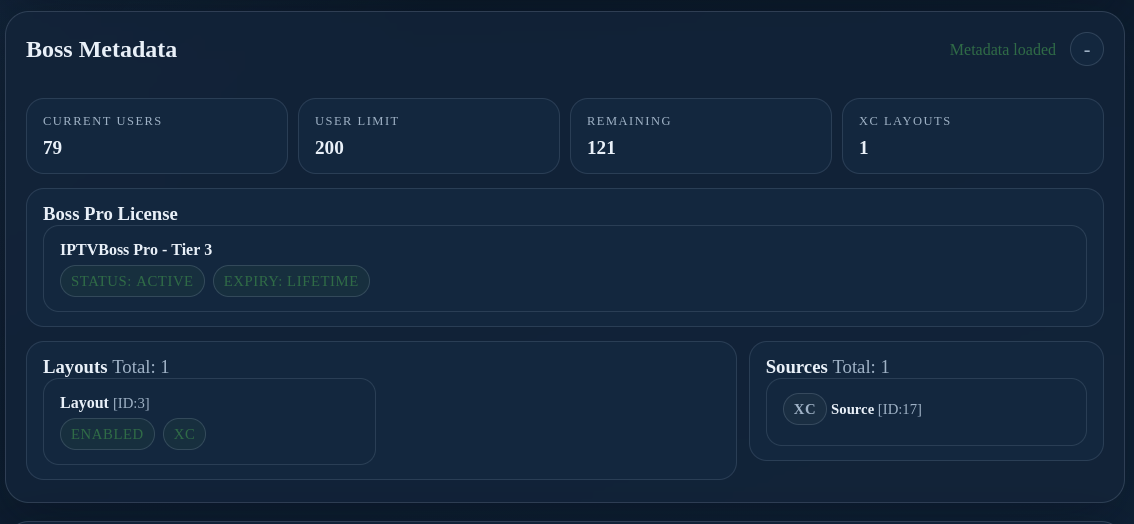
Treat displayed identifiers and connection information as private server details.